When the weather changes and the temperatures drop we look to our wardrobes for comfort and warmth. This last Spring I had seen some chunky cardigans that I remember seeing in the stores the previous Fall. Of course as a knitter I thought hmmm I could totally make this, so I was off to Ravelry to search for a chunky cardigan pattern.
My Requirements for a chunky cardi
1. Use Bulky Yarn
2. Cables
3. Long but not super long
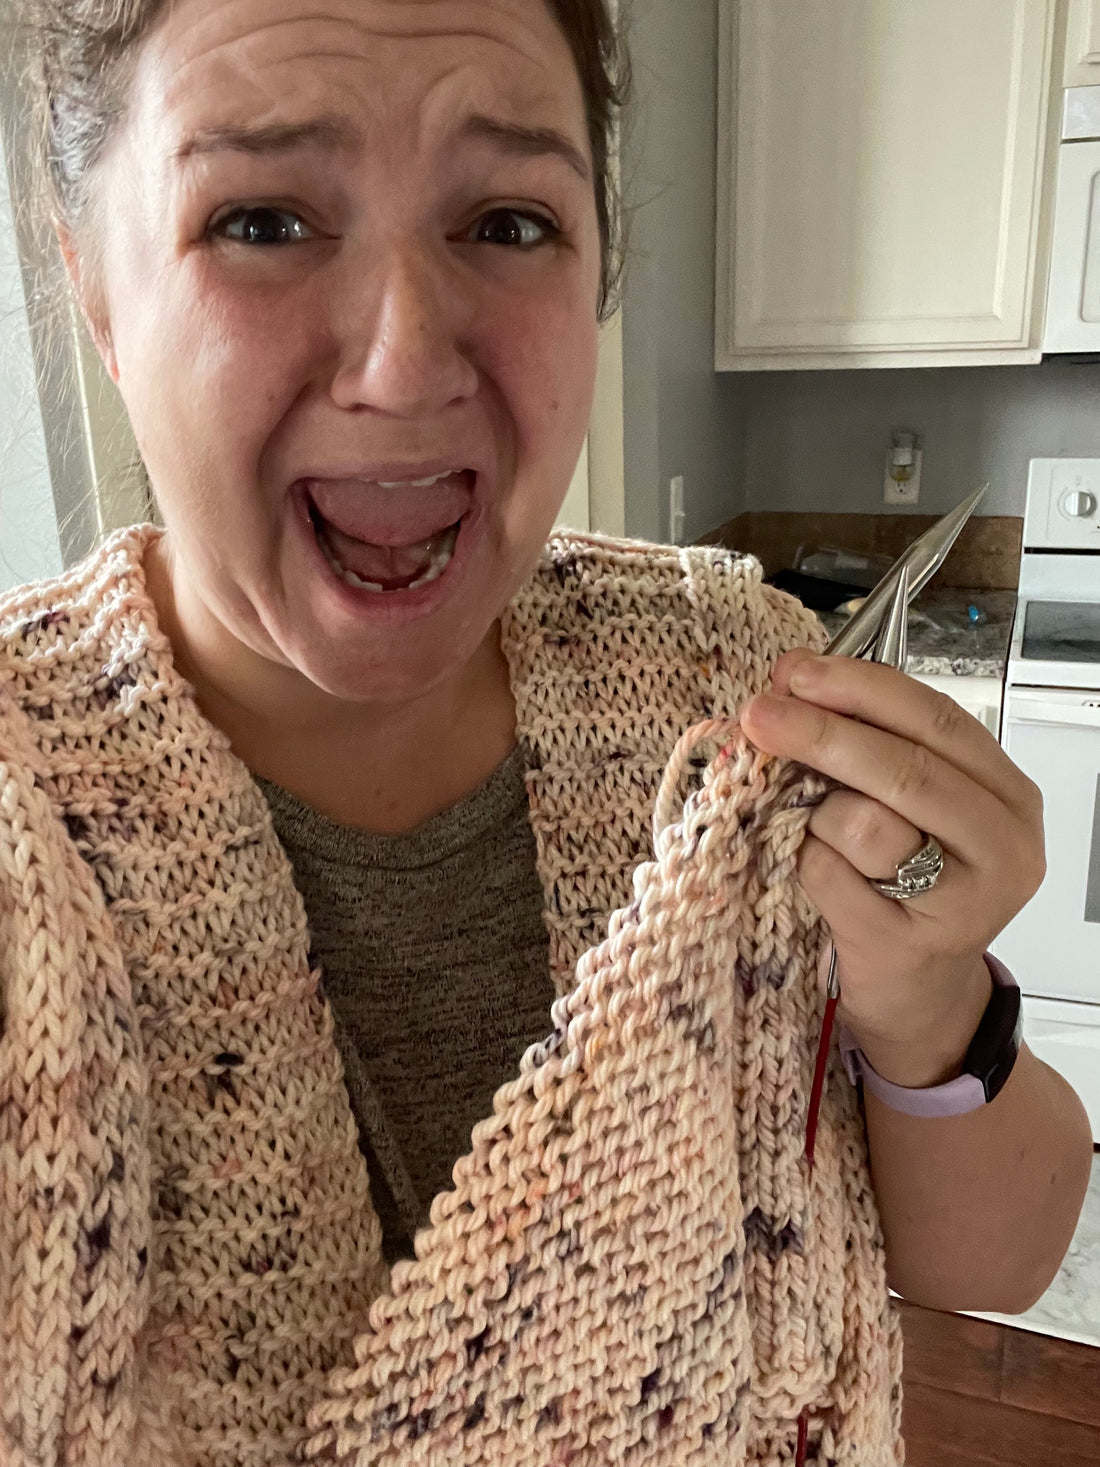
After lots of searching I finally stumbled upon the Coziest Cable Cardigan.
This sweater is made in pieces so it requires seaming. As you know seaming is not my favorite but I wanted this sweater so I made an exception. So after finding the pattern I had the bare yarn that I needed to dye up. I knew I wanted to use the Take You Dancing colorway since I wanted a pinky cardi, so I dyed up 9 skeins on my new bulky base. This was prior to releasing my bulky base to the shop since I wanted to try out the base before adding it to the shop.

This cardigan took me six months to complete, obviously I wasn't knitting exclusively on it and if I hadn't cast on my Bday shawl it would have probably been done much earlier.
The back piece was the part that took the longest and was a pain because it's all stockinette. I chose to include the purl bumps on the edges to make seaming easier AND because I liked the look of it.

I worked on it at home during porch time, in the car on the way home from Seattle(not to Seattle though because I had to drive). After months I finally finished the back piece.

You may be asking Jen did you do a gauge swatch
the answer is no as you'll see later on in this post
Anyway once I finished the back panel I figured the front two panels would be easy peasy.

In fairness if I didn't always get distracted with all the other projects I probably could have had each panel completed in a few days. I knit in my fave knitting spot...
by the pool

the window seat....

As August was coming to a close I knew I needed to finish this cardigan. Prior to seaming the back panel and front panels together I wasn't sure but had a feeling it would be a bit on the long side.

Now normally I don't mind oversized and long cardigans.....seriously if you go and look at my cardigans they are all long or oversized. It ended up going almost to my knees which I felt was a bit too long. But I wasn't sure it would be an issue so I continued onto the sleeves. As i started on the sleeve I realized I only had one other skein left. Which ultimately would mean I was probably going to run out of yarn. I decided that it was a problem for Future Jen to deal with...

Until Disaster Struck

I lost miserably at yarn chicken. I know, I know, I always lose at yarn chicken. Normally I just dye up some more yarn, seriously this happens on EVERY sweater and I think I dye up enough yarn but I either don't have enough or my gauge is off. So...remember how earlier I said I didn't swatch? Yeah, that turned out to bite me in the booty cheeks(phrase thanks to my five year old son). I made it halfway through the second sleeve.. ok... maybe a third of the way through. I really didn't want to have to dye up a full skein just to use a little bit to finish the sleeve. So i threw it into timeout.
Timeout is an excellent choice for projects that are troublemakers. Putting it in timeout gave my brain the chance to really think about my options for completing this project.
After a couple days I had made up my mind. I knew my gauge was off by a couple rows, not the stitches though it was perfect on number of stitches. So I decided to rip out a few rows on the back and front panels.
While I was ripping back I was keeping track to how many rows I was ripping out and trying to envision just where it would land after however many rows. In the end I ripped back ten rows on each piece. It seems like a lot but it ended up being a couple inches.
I continued on finishing the sleeve and seaming it all together.

Now it's one of my favorite Cardigans ever.
If I can pass any words of wisdom on it's to make modifications if you're not a hundred percent happy with how your project is turning out. In my case I had knit to the measurements that the pattern stated, but I felt it was too long and as I had run out of yarn I figured the easiest way was to rip out a few rows.
Patterns aren't written in stone, you can customize it a bit to fit what you want. It's ok!
If I were to make this again I would probably carry the cables down the sleeves since the sleeves are a bit boring as is. I actually think that was my plan originally but I didn't use my project picker or project planner when starting this project since my son accidentally dropped my ipad down the stairs and the screen shattered, and by the time I started the sleeves I completely forgot all about it.
What did I learn from this project?
Use my project planner to keep track of any changes I want to make. I should also dye up an extra skein than I think I need so that I have an extra one just in case. Obviously I would use it.....